.jpg)
These hand-painted Easter eggs are just as fun as the plastic ones–but they’re beautiful enough to keep forever!
It can feel almost impossible to avoid plastic Easter eggs. They’re cheap, they’re pretty, you can put treats in them, and they are EVERYWHERE. I don’t have a blanket hate for plastic eggs–I'm happy enough to thrift them!–but the world does not need more brand-new plastic *anything*, and there are so many other meaningful, eco-friendly options that are just as fun and a LOT more beautiful.
Such as wooden Easter eggs!
Some of the wooden eggs in my current Easter stash are a full 15 years old, and those eggs painted with the little-kid techniques of my then 5- and 7-year-olds are honestly even more precious to me now than their more recent creations of galaxy, Captain America, and shark-themed eggs.
Whether you’re a little kid or all grown up, the technique for hand-painting wooden Easter eggs is super accessible. Here’s all you need, and how to do it!
Materials
- wooden Easter eggs. I’ve always bought all of my unfinished wooden eggs from Casey’s Wood Products in Maine. If you check out their online store at just the right time, you can even get lucky and find second-quality wooden eggs for cheaper.
- primer. This is an important first step in painting unfinished wooden eggs. Any kind of primer will work, as long as it can be used on wood. I often use the same Zinsser that I use for my walls, but I also really like Rustoleum’s Paint+Primer spray paint when I want a base coat that’s not white.
- paint. Again, nearly any kind will work! I use primarily acrylics, as oil-based paint is a Whole Other Thing that I have no desire to mess with. House paint works great, especially the little 8-ounce samples that you’ve definitely got on hand if you dither as much about wall colors as I do. Craft acrylics and artist’s acrylics are both terrific, and paint pens are indispensable for detail work.
- paintbrushes.
- (optional) sealant. If you’ve got polyurethane sealant on hand, it’s perfect for making these painted wooden eggs shiny and impervious to damage. Mod Podge is less resistant to damage, but also works. But if you don’t mind eggs that aren’t shiny, acrylic paint doesn’t actually need to be sealed. Sealing the egg also means that you can’t repaint it later, and a LOT of my stash of wooden eggs have been painted and repainted and repainted again. Not every wooden egg painted by a 10-year-old has to treasured forever, ahem!
Step 1: Prime the unfinished wooden eggs.
.jpg)
This is a simple first step that will keep your beautiful hand-painted embellishments from soaking into the wood.
Using the primer of your choosing, give each egg one or two coats, then let it cure for the time recommended on the primer’s packaging.
I keep a lot of paint on hand, so my favorite time-saving technique for these eggs is to use a spray paint plus primer to give the eggs their primer and their base coat simultaneously. This is perfect for my galaxy eggs, for instance, which are black with galaxy embellishments, and my Captain America egg, which is mostly red. If you plan to paint wooden eggs as a family or kid activity, it can also be nice to start off with eggs base-coated in a variety of colors. It’s a fun little boost to creativity!
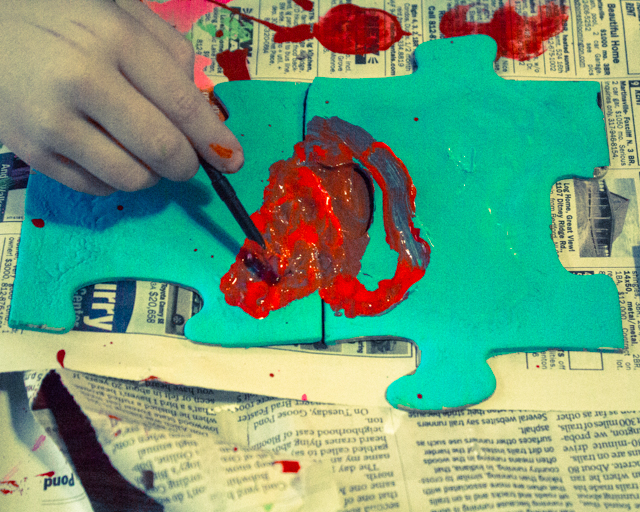
Step 2: Paint the wooden eggs.
.jpg)
This is where you can really let your creativity prevail! There is no limit to how you can paint an Easter egg, whether it’s abstract or hyper-realistic. I’ve got all kinds of abstract Easter eggs, several galaxy ones, two that look like the Jaws movie poster, one for every Avenger, more rainbow eggs than you’d believe, and as of this Easter, one wooden egg painted for each of my kid’s colleges, already tucked into their Easter-themed care packages (along with these treat-filled paper Easter eggs!) and wending their way across the country to them.
.jpg)
It’s a matter of personal preference, but I really like to use house paint or craft paint for larger areas, artist’s acrylics for more detailed areas, and paint pens for the tiniest, most specific, or most accurate details. You can add infinite layers and additional details as long as you let the layer beneath dry first. Use masking tape or stickers as stencils or to tape off areas, and make your own templates by drawing very lightly with pencil directly onto the surface of the egg.
When you’re finished, don’t forget to sign your artwork!
Step 3 (optional): Seal the finished Easter egg.
.jpg)
The only tricky part about polyurethaning or Mod Podging these Easter eggs is that you have to let the paint fully cure first, then let the sealant fully cure again before the finished Easter eggs are ready to roll. In a pinch, I’ve been known to collect up all our newly-painted eggs after Easter and polyurethane them before putting them away for the season.
These wooden Easter eggs are sturdy enough to last for an entire childhood’s worth of Easter egg hunts, and after that, you’ll love seeing them on display. I’ve got my favorites of our painted eggs sitting on my coffee table in my kids’ childhood Easter baskets, and I’ve only cried a few times looking at them.
Summer break can’t come soon enough for me!
P.S. Want to follow along with my craft projects, books I'm reading, dog-walking mishaps, encounters with Chainsaw Helicopters, and other various adventures on the daily? Find me on my Craft Knife Facebook page!
.jpg)


.jpg)
.jpg)
.jpg)


.jpg)
.jpg)
.jpg)
.jpg)
.jpg)
.jpg)
.jpg)
.jpg)
.jpg)
.jpg)
.jpg)
.jpg)
.jpg)
.jpg)
.jpg)
.jpg)
.jpg)
.jpg)
.jpg)
.jpg)
.jpg)
.jpg)
.jpg)
.jpg)
.jpg)
.jpg)
.jpg)
.jpg)


